What is the Admailr Private Marketplace?
Prerequisites:
- Admailr Advertiser Account. If you don’t have one click here to register
- Admailr Publisher Account. If you don’t have one click here to register
How do I set up my Private Marketplace?
Prerequisites: Publisher Account Linked to Advertiser Account
Creating Private Ads in the Advertiser’s account
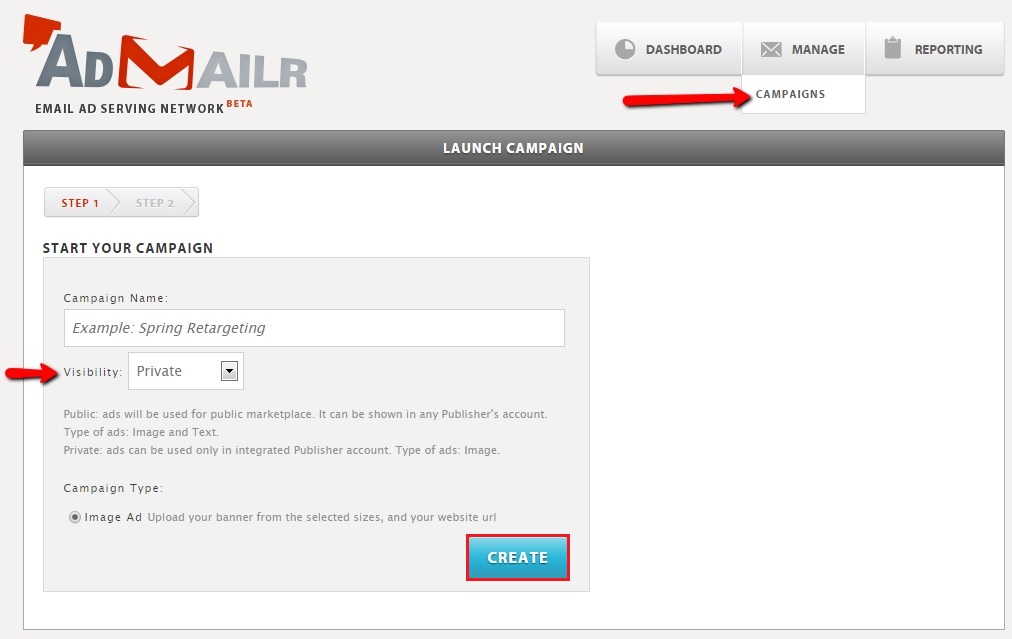
- Login to your Advertiser account and create a banner ad for your private campaigns for use in your publisher account. Click ‘MANAGE’ select ‘CAMPAIGNS’.
- Create a campaign name, choose Private for visibility and hit ‘CREATE’ button.
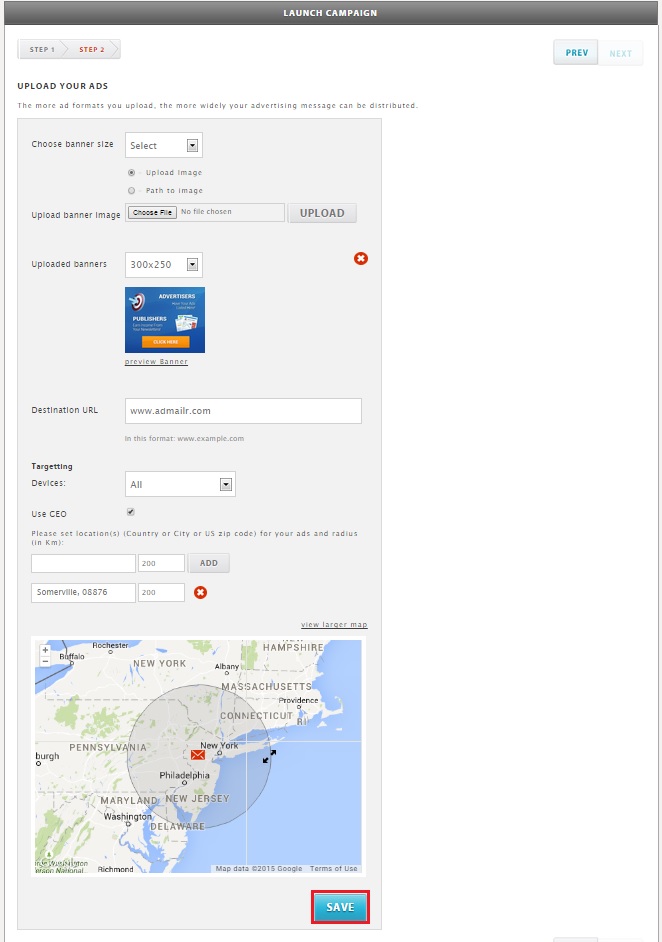
- In Step 2, choose the banner size you want to upload either via Upload image from your pc or Path to image (enter the Img path and find image) and hit ‘UPLOAD’ .
- Enter your Destination URL – This is where the recipient will be redirected when he clicks on the banner also known as Landing Page URL or Link.
- Select your Targeting Devices :ALL, mobile android or mobile ios or all mobile.
- Use GEO: this is for GEO targetting. If selected this will allow you to limit the banner visibility to the locations entered. In this example zip code 08876 is entered which is in Somerville NJ.
- When done hit ‘SAVE’. Upon save a pop up message will be displayed ‘Your Private Ads have been saved successfully. It is available in the Publisher account.’
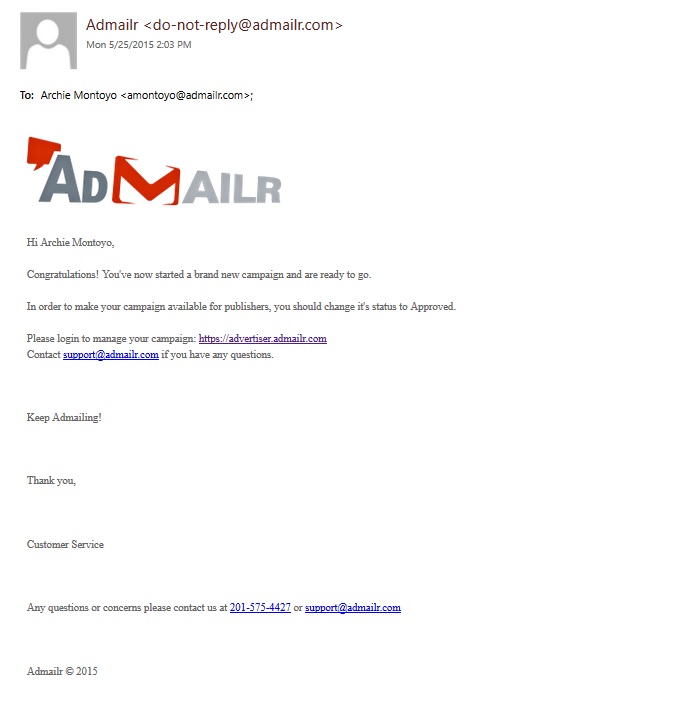
- After saving your campaign you will get an email notification. Follow any steps provided within that email notification.
Creating a Publisher’s Campaign (Line Item) from ads generated in the Advertiser’s Account
- Access your Publisher’s panel and create a Private Campaign that will include the Private ads made in the Advertiser’s account.
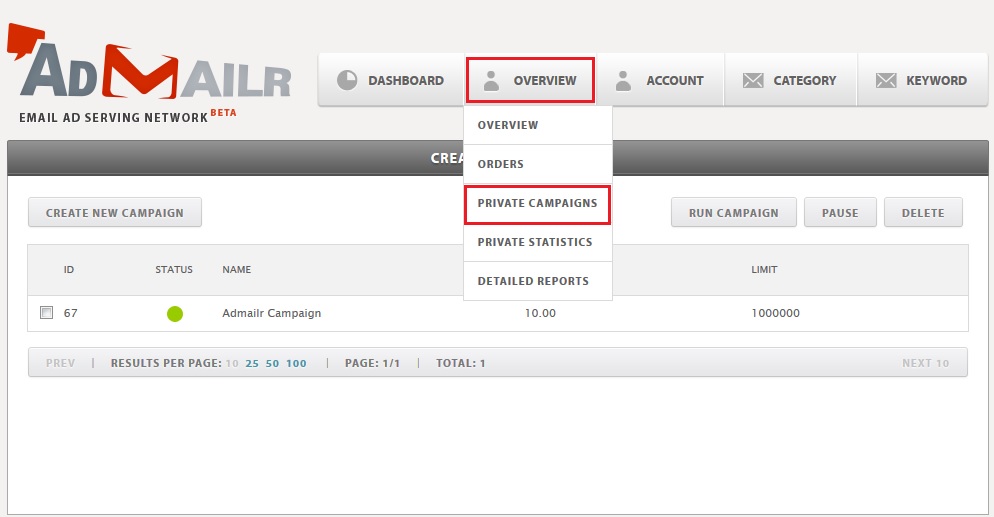
- Click ‘OVERVIEW’ and select ‘PRIVATE CAMPAIGNS’
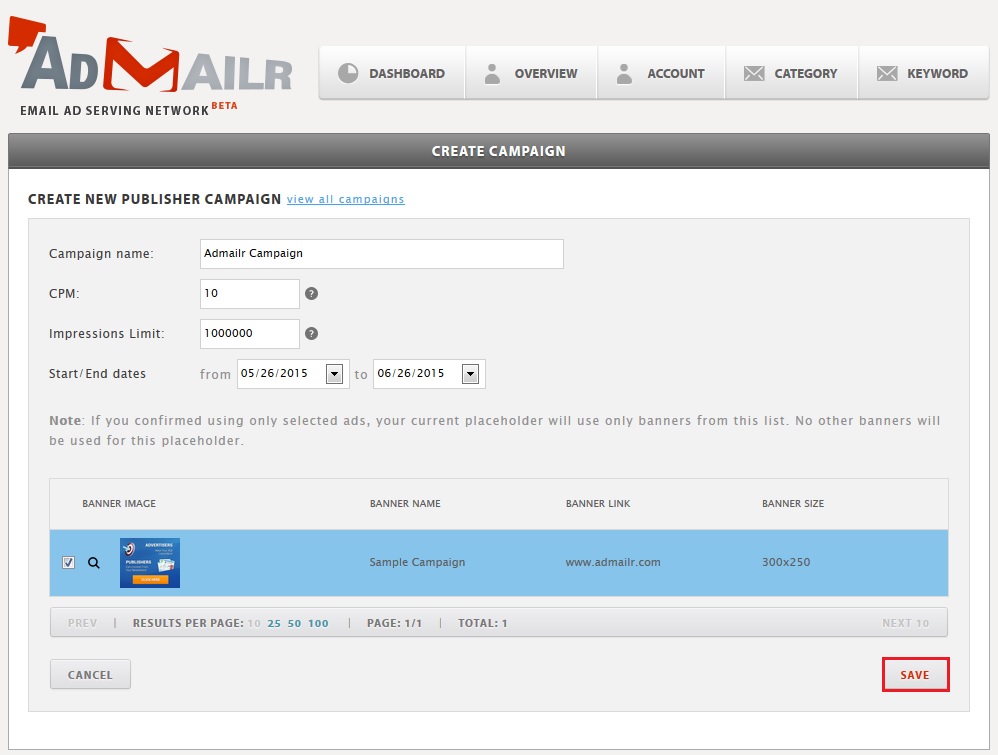
- Enter the Campaign Name (Similar to Line Item Name)
- Enter the CPM for this Campaign (CPM = Cost Per 1000 Impressions)
- Enter the Impressions Limit (Impressions are how many times it will be viewed)
- Select banner(s) that will be used for this campaign.
- Click Save to finish
Note: The banners will only show up if they are running in the Advertiser account. They are not visible if they are paused in the Advertiser account. We do this so you can pause a banner without having to update the generated tag code in the newsletter you will see later on.
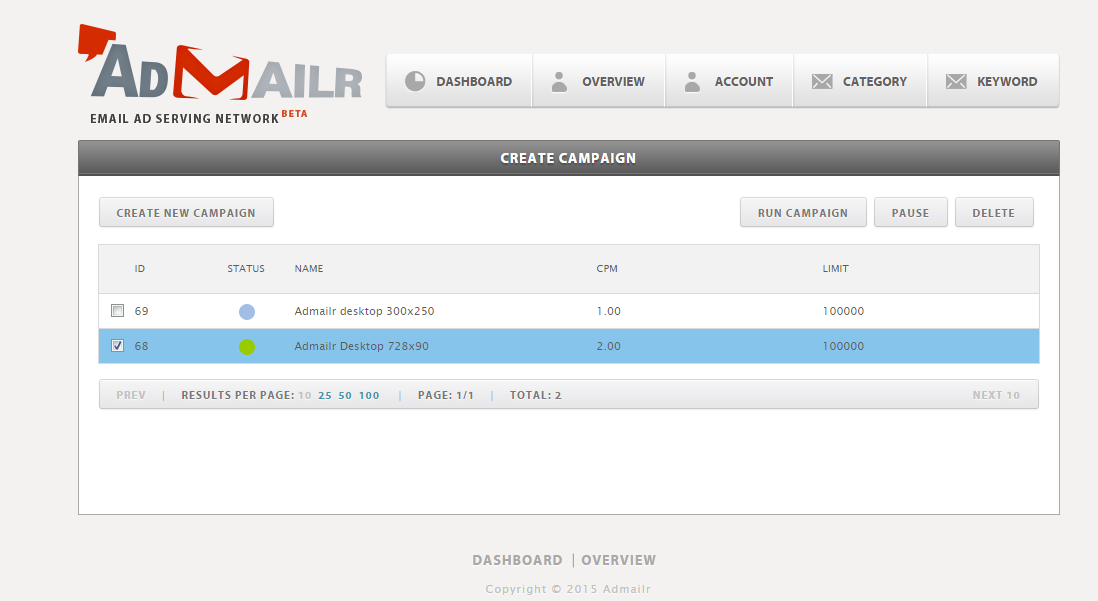
- Upon Save you will be brought back to the Private Campaigns screen where you will see either a green or blue status circle. Green means the campaign is “RUNNING” and blue means it is “Scheduled for a Future Date” . If you see a red circle it means the campaign is Paused. You can unpause a campaign by selecting the campaign and choosing “RUN CAMPAIGN“
Creating an Order
- Click ‘OVERVIEW’ and select ‘ORDERS‘ and hit ‘CREATE NEW ORDER‘.

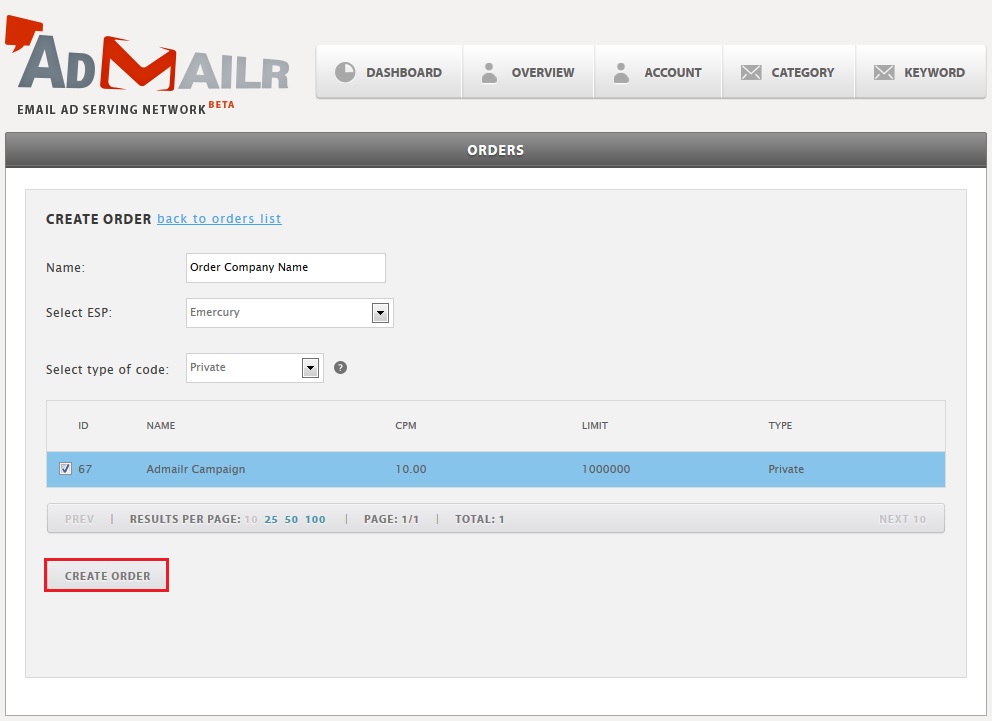
- In the order settings enter the information required.
Name – enter the name for this order
Select ESP– field selection is needed because each esp has its own code for placing the ads. NOTE: If you don’t see your ESP please let us know and we will add it.Select type of code Options - Public – all active public ads from all advertisers in the system will take place in rotation.
- Private – active private ads from selected campaigns will take place in rotation.
- Both – first system works as “Private”. Once all campaigns are finished (by schedule or impressions limit), spot switches to “Public” type
Once all parameters are set, hit the ‘Create Order button’,
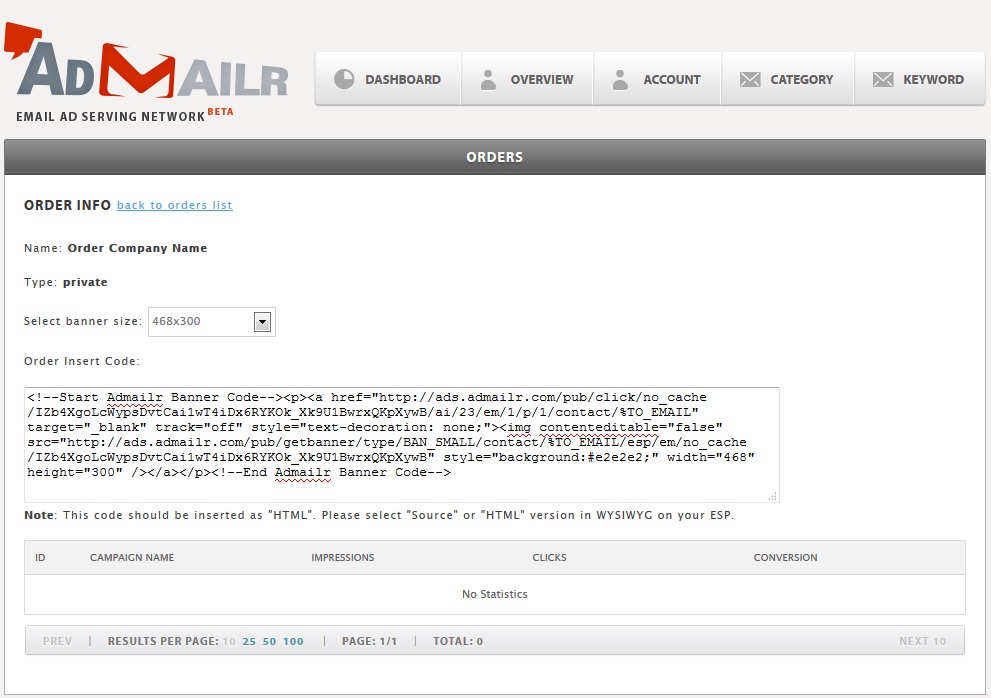
Generate Order Code (Display Banner Tag)
- Select banner size – will filter only Campaigns, that have at least one banner of the selected size. Since we place ads by size and there can be multiples then the order will be based on the size.
- Insert the banner code into email as html.